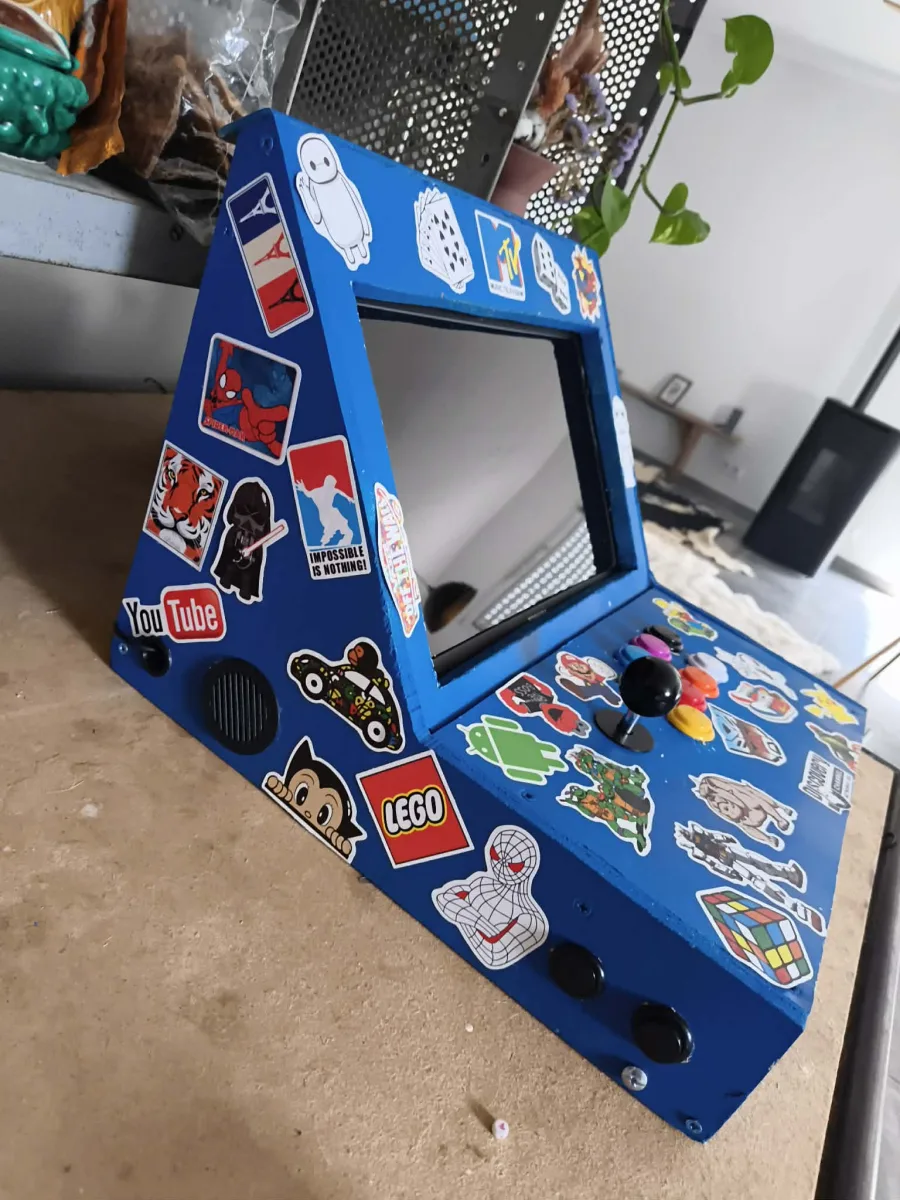
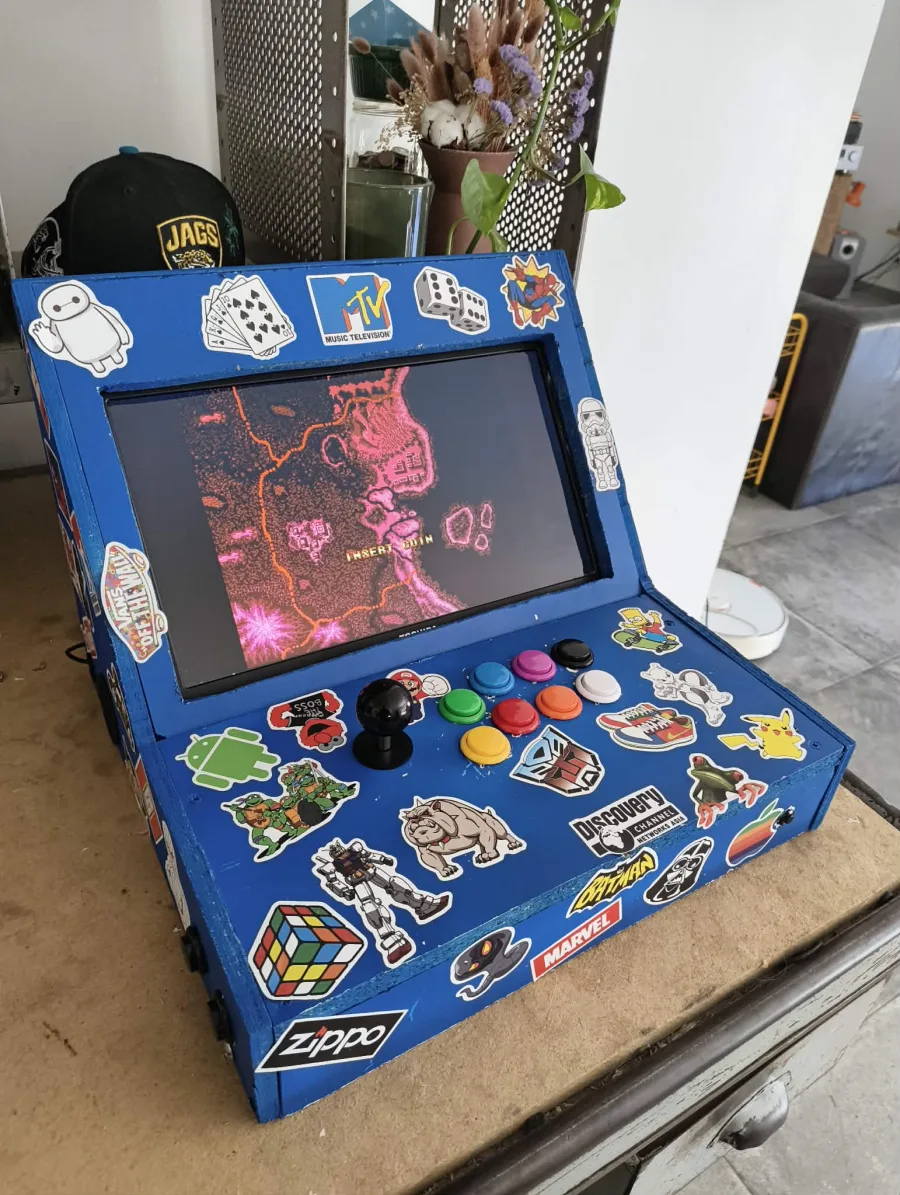
I got my girlfriend's first PC, a 2010 single-core Toshiba, and decided to turn it into a wooden arcade cabinet. Total budget: under 50 euros.
I have been a developer for more than 12 years, and sometimes that makes you want to work on hardware for a change. After buying a 3D printer, I finally started a project I had wanted to build for years: my own arcade cabinet.
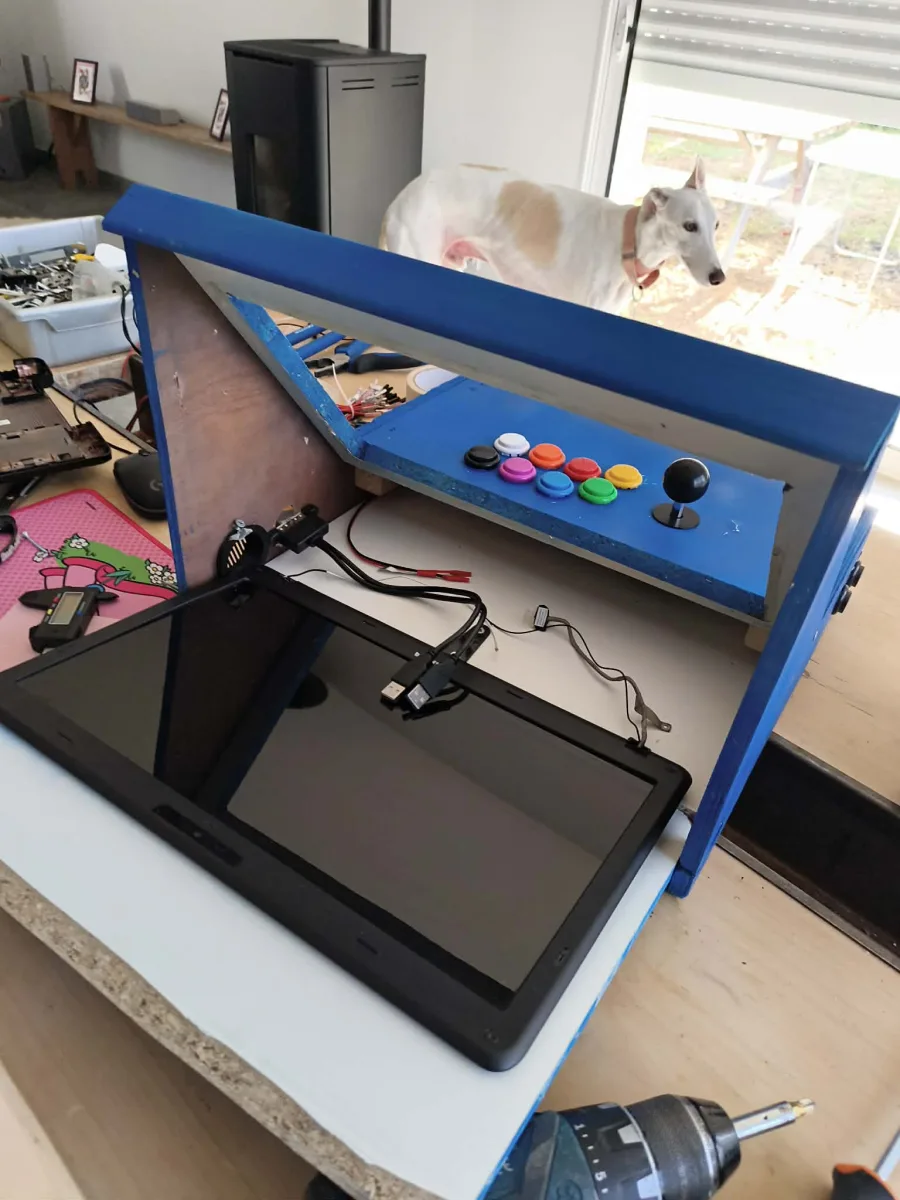
The starting point: an abandoned cyberdeck
I had my very first computer at home, bought when I started freelancing in 2017. I had taken it apart back then to turn it into a cyberdeck, a project I eventually abandoned because I had no real use for it. With the 3D printer ready to go, I thought this was my chance to recycle the idea by printing an arcade cabinet directly.
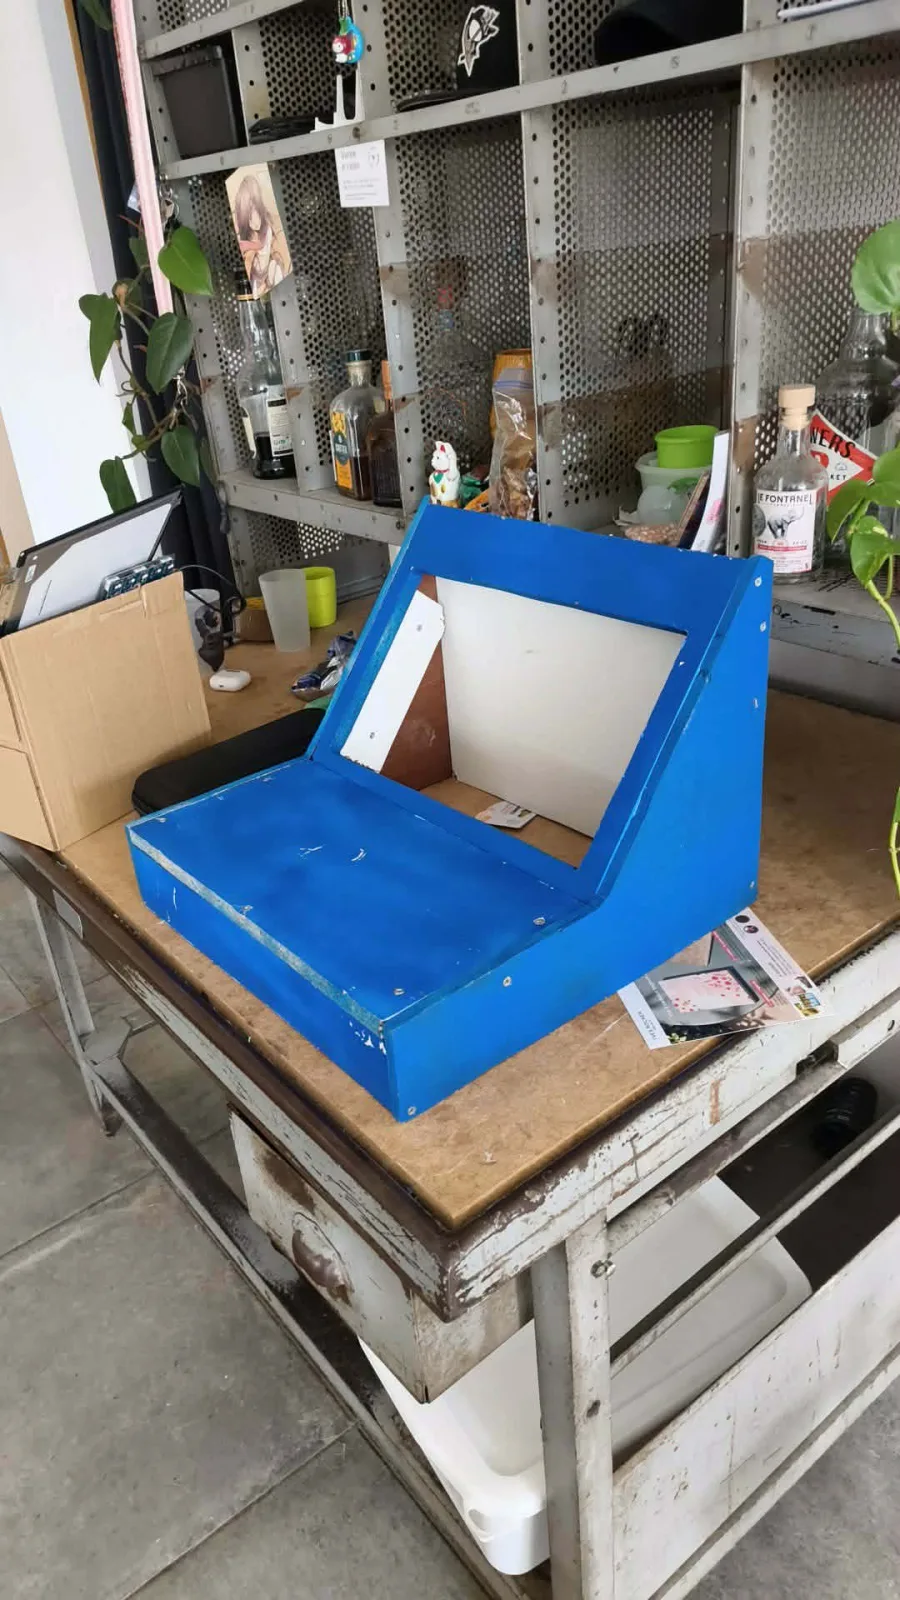
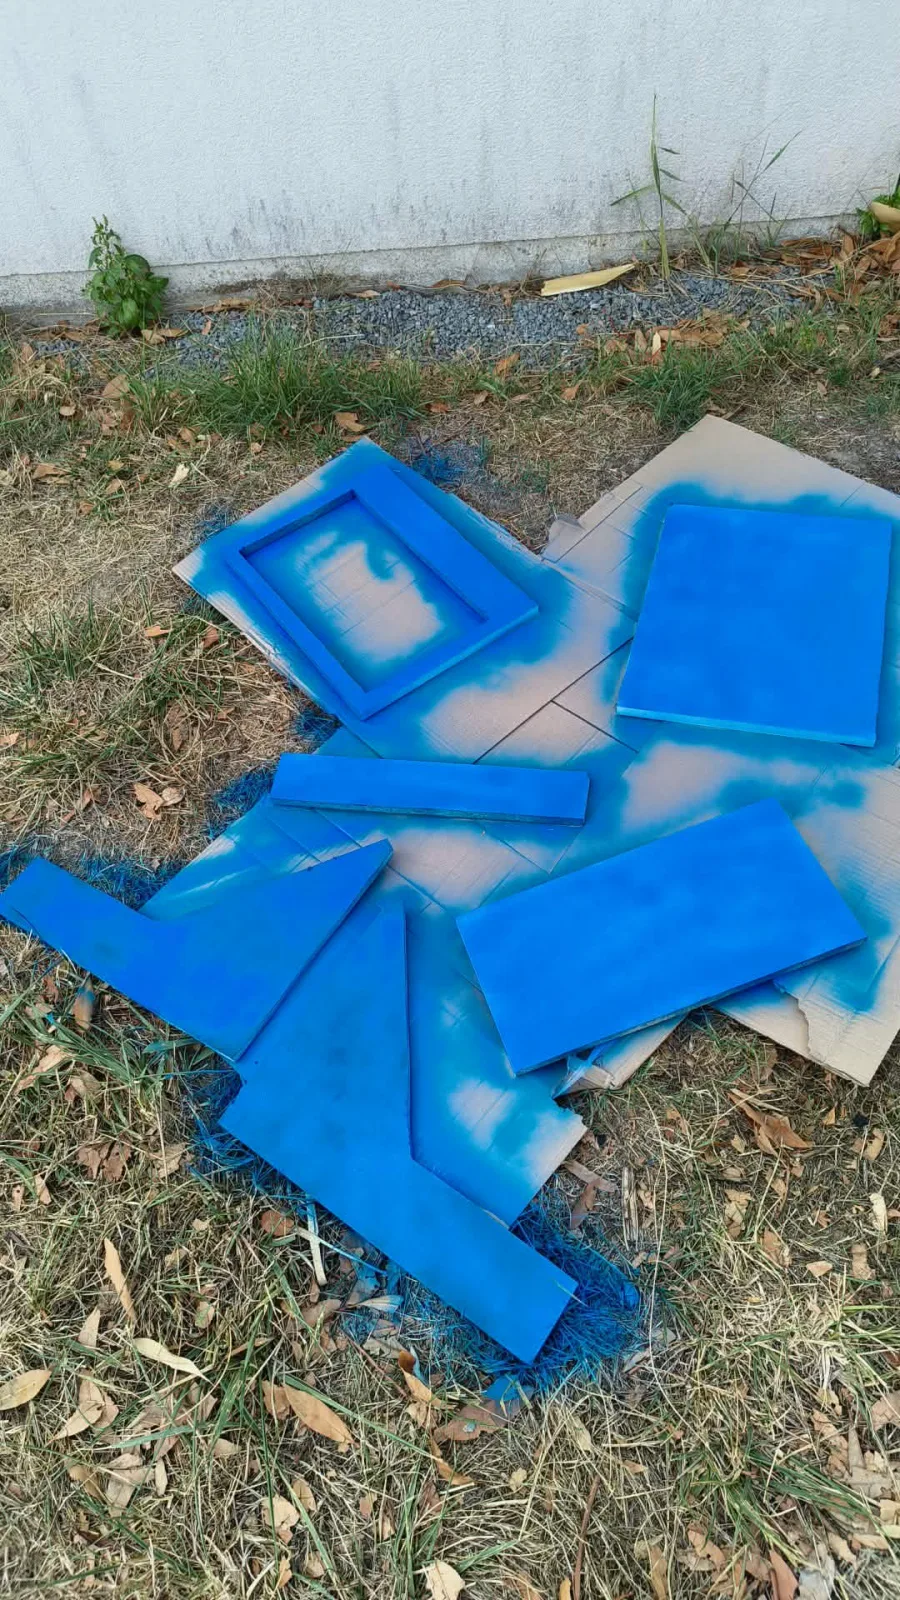
I did some research and quickly realized that 3D printing was not the right approach for this kind of structure. New plan: a classic wooden cabinet, based on no existing model, with the plans drawn and the panels cut by me.
The goal was clear from the start: build a cabinet that cost almost nothing. I already had wood offcuts at home, including plywood and MDF, more than enough to build the case without buying new material.
First obstacle: the machine dies
Everything was cut and all the parts had been ordered. When I plugged the original machine, the 2017 one, back into the cabinet, nothing happened. The motherboard had probably died during my soldering tests.
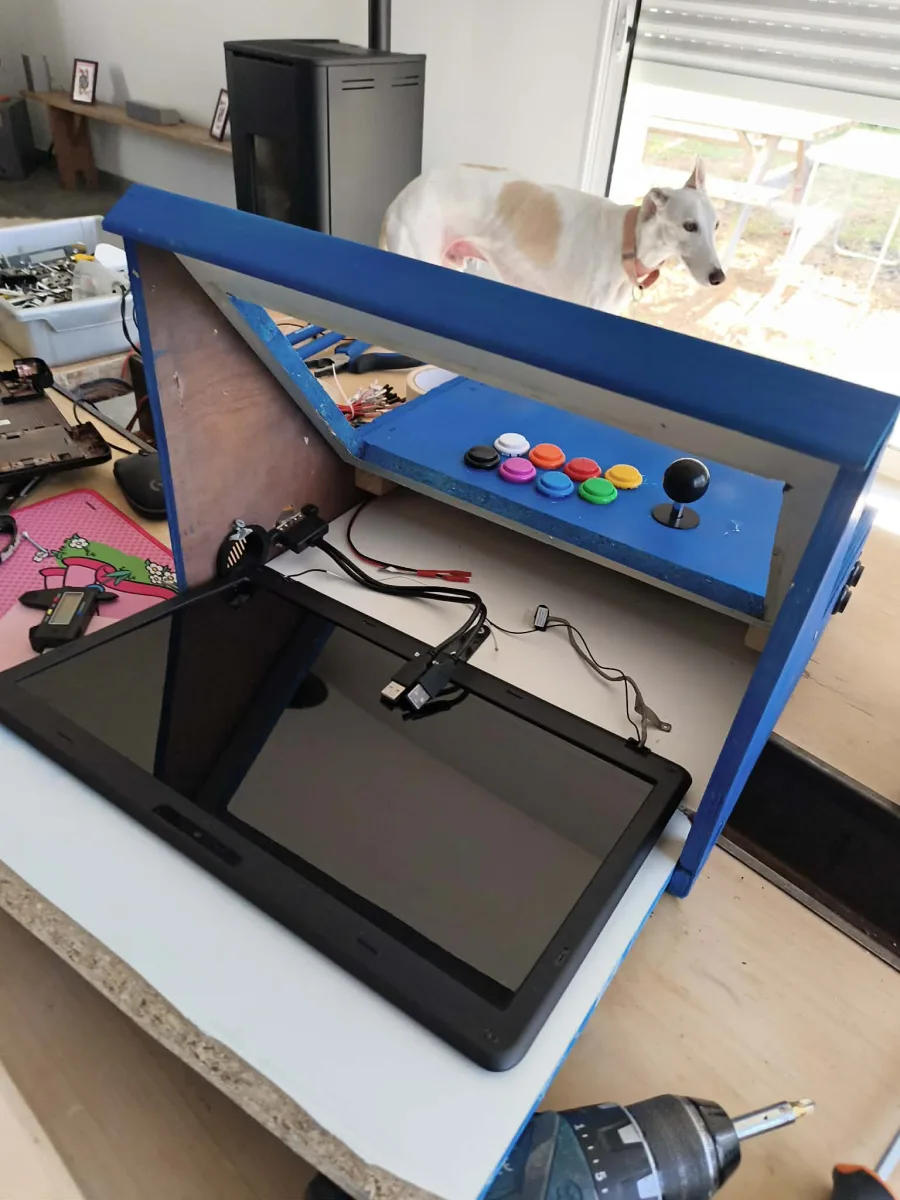
I switched to an old 2010 Toshiba, my girlfriend's very first computer. It has an AMD V140, a 2.3 GHz single-core mobile processor from the Champlain family, 4 GB of RAM, and an SSD. More than enough for SNES emulation and 90s arcade games, which barely need any CPU power.
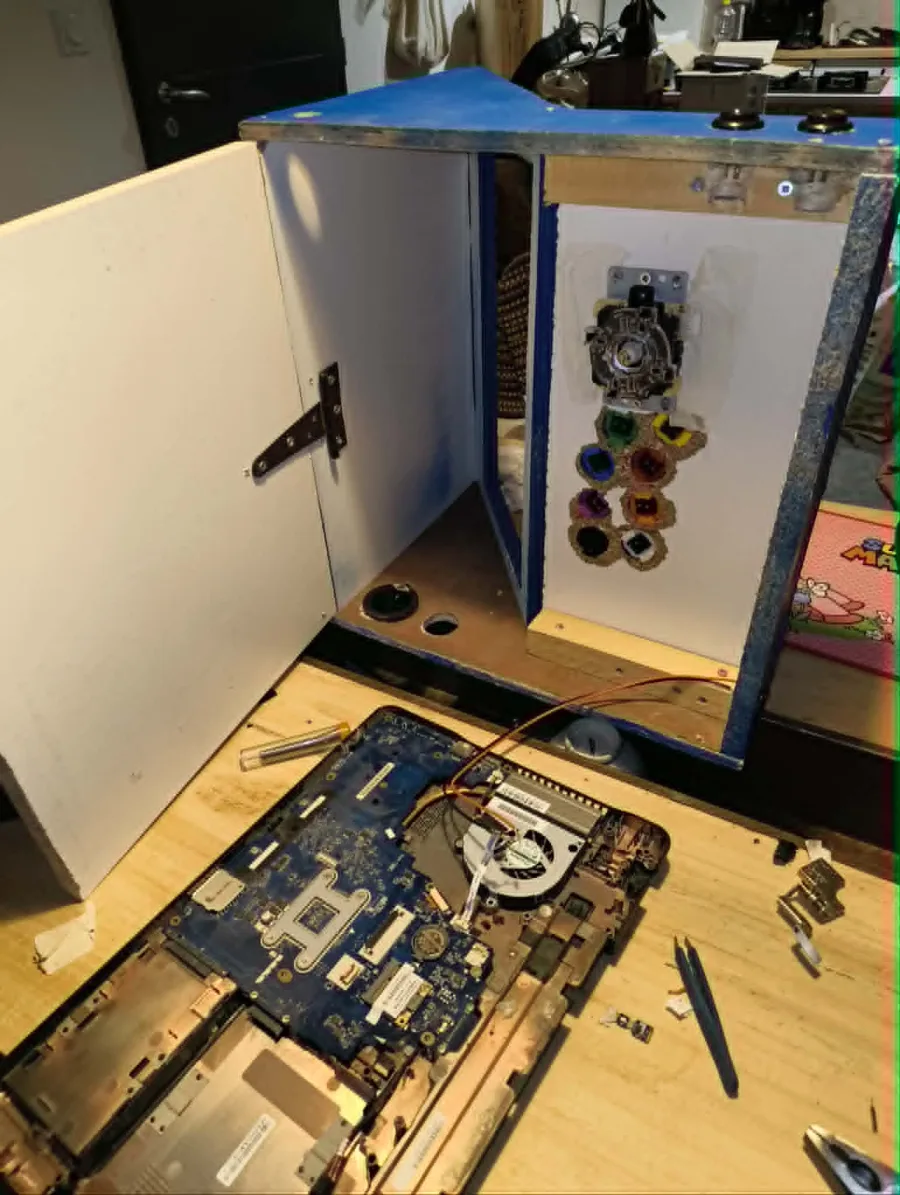
I did all the wiring myself, including the external power button. I used a multimeter in continuity mode to identify the right pads on the board connected to the motherboard's JPOWER connector, then soldered my own switch onto them. One of the most satisfying parts of the project.
Second obstacle: choosing the distribution
The operating system was the next decision. Batocera, the usual reference for this kind of machine, simply refused to boot on it. RetroArch on its own was far too demanding for a single-core processor.
I ended up using Lakka, a more minimal distribution that runs perfectly on this modest setup. The cabinet does not need to run recent games. It just needs to launch SNES games and arcade classics quickly, and that is exactly what it does.
The final numbers
A 2010 Toshiba turned into a Lakka arcade cabinet for:
- less than 20 euros in supplies, mostly reclaimed wood;
- around 5 euros for paint;
- less than 20 euros for AliExpress parts, including the switches, joystick, and buttons.
Everything else was made with tools I already had, including a hole saw for the buttons and joystick. The 3D printer that started the project was ultimately only useful for the finishing touches, not the structure itself. Ironic, but that is also what a side project looks like: starting with one idea and ending somewhere else.
Why I built it
Not to save money. Once you count the time spent, a ready-made arcade cabinet would not necessarily cost much more. The real point was to make something with my own hands from start to finish: draw the plans, cut the wood, solder my own buttons, and bring a fifteen-year-old machine back to life.
It is the kind of project where struggling with the operating system or burning out a motherboard is part of the fun, not an unexpected detour.
Most importantly, two machines that had been sitting in a cupboard are useful again. My girlfriend's Toshiba is fifteen years older than it was a month ago, and it is finally running something worth playing.